


Round
Small spaces between round diamonds give the finished piece a softly textured, cross-stitch-like look. Both shapes suit beginners.
To view pricing in your currency, select your shipping country below.
Step-by-step instructions
A little color, a little sparkle, and something beautiful made by you. Place each diamond on its matching symbol and watch your artwork come to life.
Go to the stepsSettle in, open your kit, and get to know your supplies.
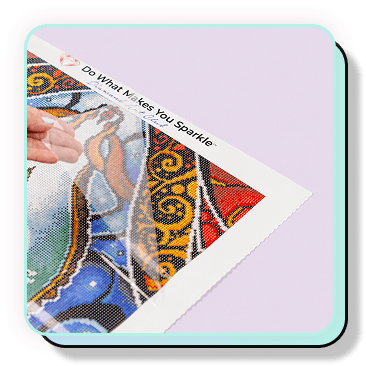
Your printed design, with adhesive under a clear cover.
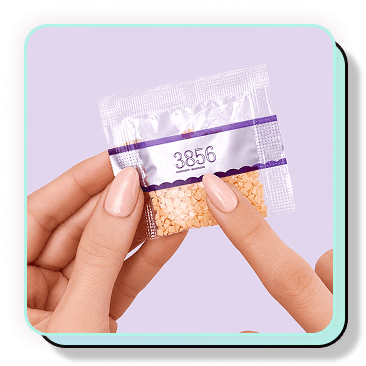
Color-coded resin diamonds, also called drills.
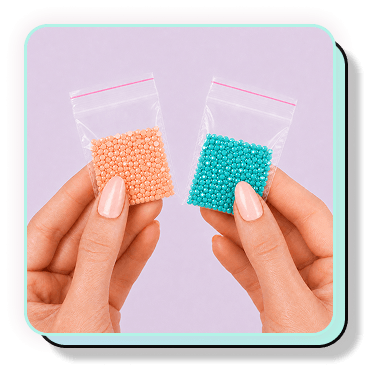
Keep each color labeled between sessions.
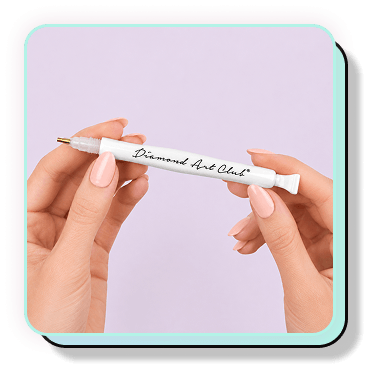
Pick up and place one diamond at a time.
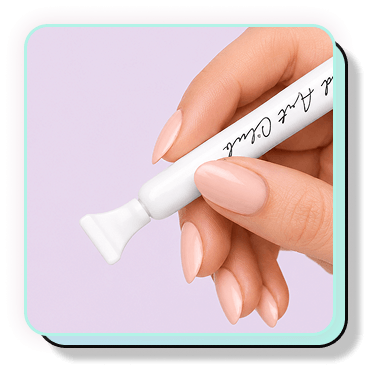
Place a few diamonds together as you get comfortable.
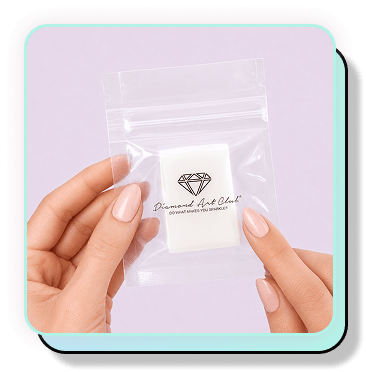
Helps your pen grip. Twist & Pick pens come prefilled.
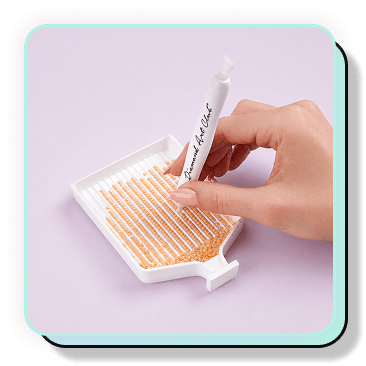
Gently shake to line up your diamonds, faceted sides up.
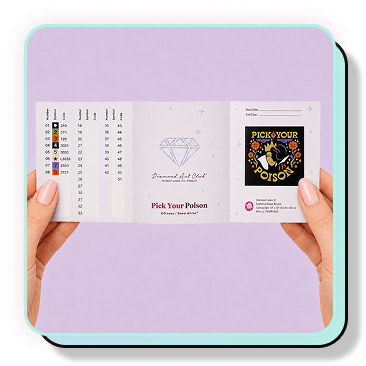
Match symbols to colors; use the labels to organize.
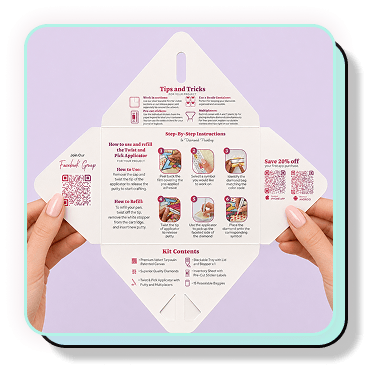
Step-by-step instructions to keep beside your canvas.
Tool kits can vary. Check your product page for the exact contents and use the pen guidance below that matches yours.
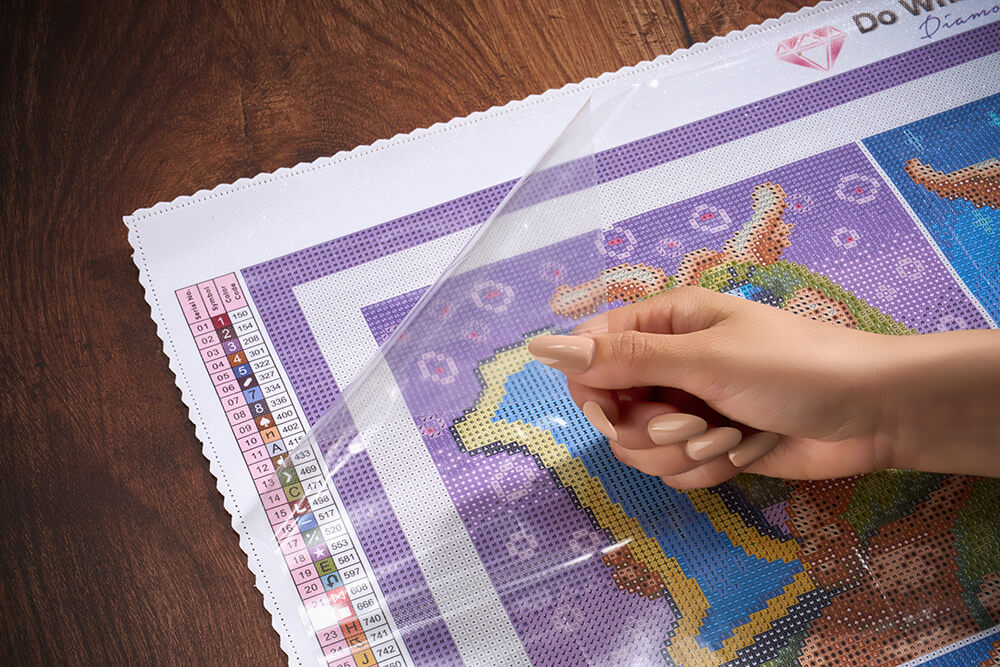
Step 1
Peel back a small section of the clear film to reveal the adhesive. Keep the rest of your canvas covered.
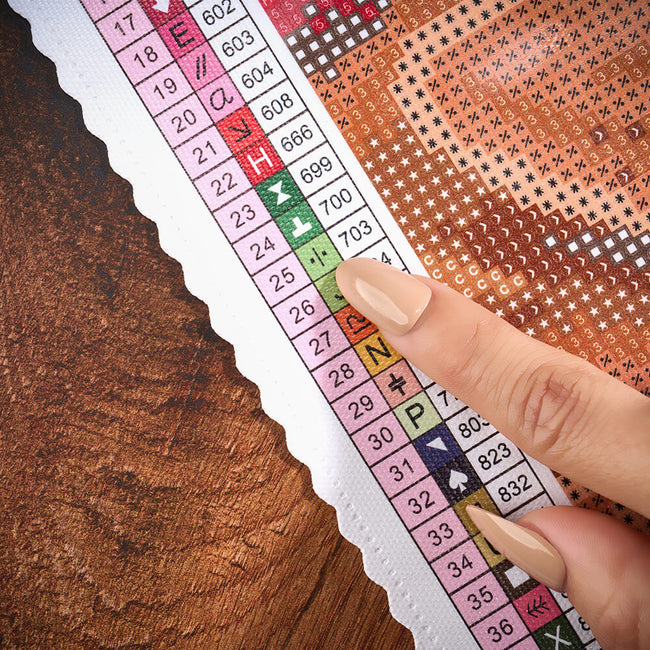
Step 2
Choose a symbol in that section, then find it on the color chart along the side of your canvas.
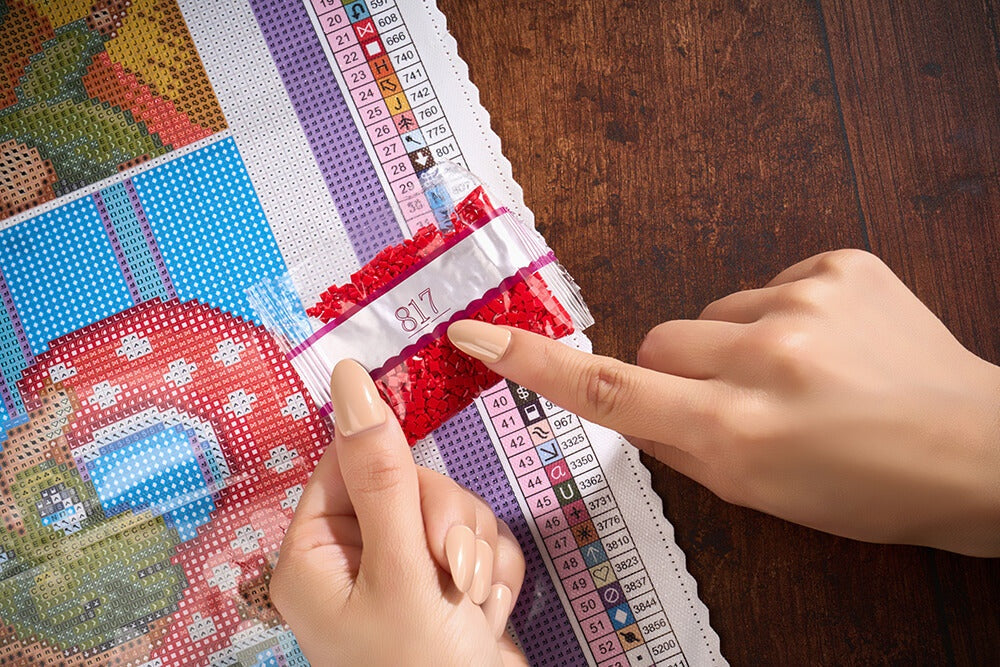
Step 3
Find the bag with the matching color code. Pour a few diamonds into your tray and gently shake them, faceted sides up.
Step 4
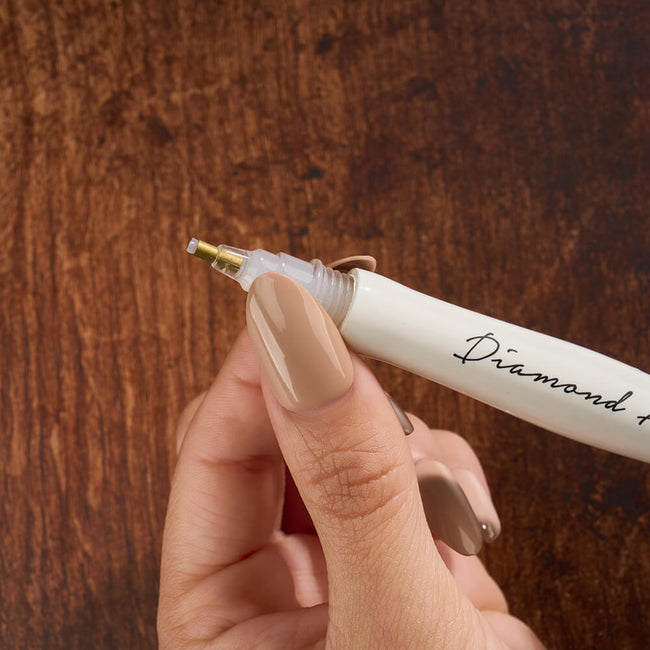
Uncap your prefilled Twist & Pick pen. If you have an original wax pen, press its hollow tip into the wax pad.
Step 5
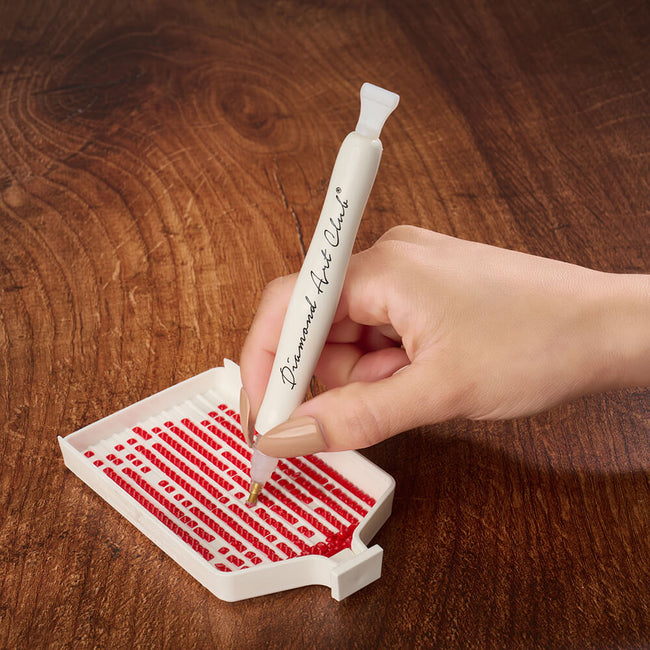
Touch the pen tip lightly to the faceted top of a diamond. Its flat side should face down toward the canvas.
Step 6
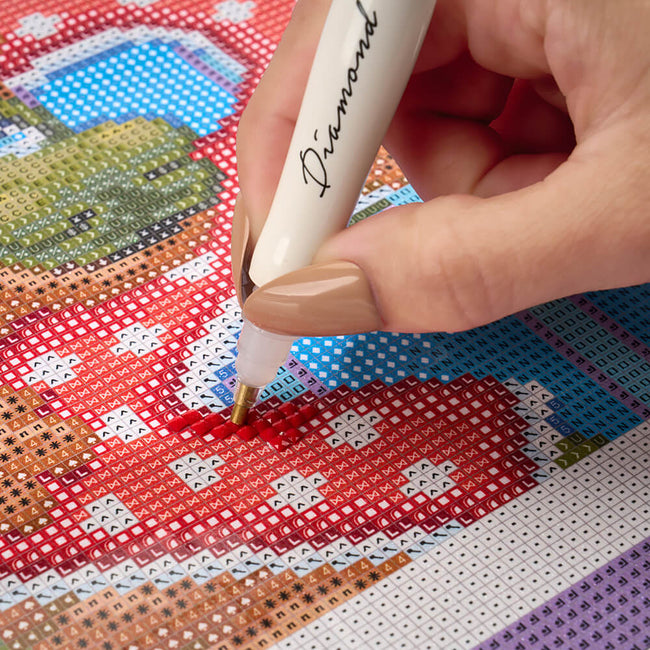
Press the diamond onto its matching symbol. Repeat, one small section at a time, as your picture takes shape.
Take it at your own pace. When you pause, cover your canvas and pop unused diamonds back into their labeled bags.
Your pen comes prefilled with putty. When it stops picking up diamonds, remove the used putty and twist out a little more. The video shows how to refill an empty cartridge, too.
Watch the Twist & Pick demoDiamonds and Washi · Pen review & tutorialPeel the film from the wax pad and press the hollow pen tip into the wax. Add a little more when your pen stops picking up diamonds.
Watch the original pen demoDiamond Art Club · Getting started


Choose a picture you’ll enjoy spending time with. You don’t need to draw or paint—the printed symbols guide you, one diamond at a time.
Larger canvases leave more room for detail and take longer to finish. Pick a size that fits your space and your pace. Both round and square diamonds suit beginners.
Find your first designStart with the shape: round or square. Both use the same simple steps, with a different look as your canvas fills in.
Select a photo for a closer look.
Small spaces between round diamonds give the finished piece a softly textured, cross-stitch-like look. Both shapes suit beginners.
Square diamonds fit edge to edge, helping neighboring diamonds guide one another into alignment. Some people find that natural fit easier, with less precise positioning needed as a section fills.
These appear in selected designs. Check your kit’s contents and chart to see which ones you have.
An iridescent coating inspired by the Northern Lights adds a colorful shimmer.
Semi-transparent, crystal-like diamonds with a prismatic rainbow shimmer.
A glittering, iridescent surface gives these diamonds their fairy-dust effect.
A metallic finish adds reflective accents, in round or square shapes.
These absorb light and give off a soft glow in the dark.
A variety of sizes, shapes and coatings, including stars and ovals.
A spill or a missing color? We’re here to help. Contact our team, or see the Oops Insurance details for accidental spills and damage.
Made by you
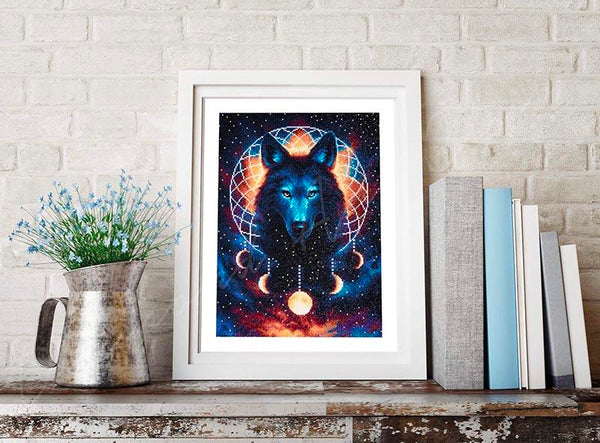
When the last diamond is in place, choose a frame that suits your finished artwork and the space it will call home.
Explore framing tipsFind your first designA little sparkle. A little suspense.

A little Halloween magic


