
ALREADY PURCHASED
Cancer
Rated 5.0 out of 5
To view pricing in your currency, select your shipping country below.
Date
May 20, 2023Time reading
7 minutes
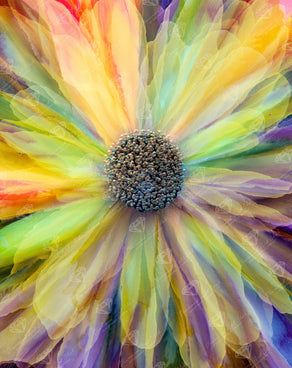
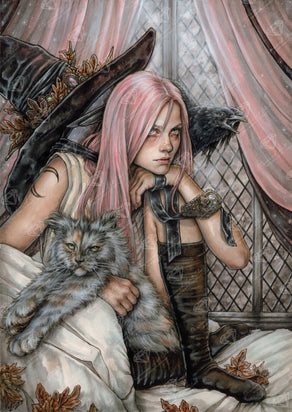
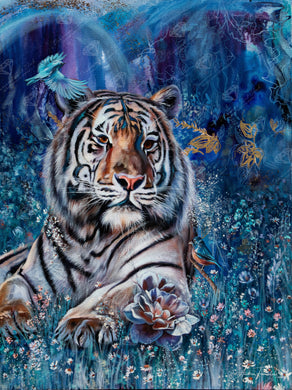
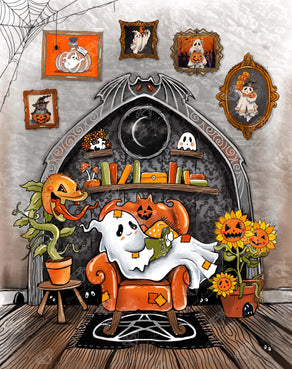
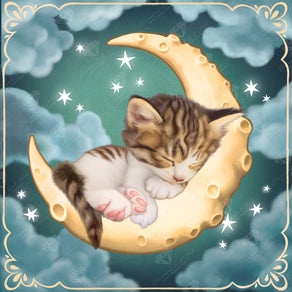
Diamond painting is one of the latest crafting crazes and is especially appealing to those who love to try anything new and creative. Our diamond art kits are available in hundreds of different designs, so you’re sure to find one that you love. You can work on these projects solo or get your friends and family involved for a fun way to spend time together. Whether you’ve done a few projects before or you’ve just opened your first set, you may have noticed some wrinkles on the canvas. And while these are totally normal and shouldn’t affect your finished product, some crafters like to work out these slight imperfections before starting on their project. Flattening your diamond painting canvas can make it easier to work with and helps ensure a flawless finished product. If you’re looking for a tutorial on how to flatten your diamond art, you’re in the right place. We’ve got you covered with everything you need to know about how to get wrinkles out of a diamond painting canvas by using one of these methods.
Our Diamond Art Club® canvases are made using a proprietary, poured glue method, which means that a high-quality adhesive layer is literally poured over the printed design and set out for 12 hours before being covered with cellophane to prevent it from sticking to anything else. Because we use this method, it’s not unusual for track marks from the glue to appear on the canvas, as well as wrinkles in the cellophane cover. We always tell our customers that these minor imperfections will not impact their final result, but for many painters, the wrinkles can be distracting. We’ve pulled together a few suggestions for how to rid your canvas of wrinkles.
Before we dive into the different ways you can get wrinkles out of diamond painting canvases, we want to explain a little bit more about the poured glue process we use to create our products. All diamond art kits either use poured glue or double-sided adhesive to keep your drills, or beads, attached to the canvas. However, the poured glue method is viewed as the superior choice for a number of reasons.

While poured glue canvases can have minor wrinkles, canvases with double-sided adhesive are known for having a greater number of air bubbles or rivers (also called creases). Attempting to get them out is not only frustrating but can result in the adhesive tape losing some of its stickiness. The high-tech poured glue method we use results in exceptional adhesion and a pliable, gel-like texture: qualities that make it easy to reposition any misplaced drills without losing adherence. Another advantage of poured glue canvases is their excellent transparency which makes it easier for the crafter to follow the pattern. Placing a large piece of double-sided adhesive on top of the canvas’s design can make it challenging to see the symbols correctly.
Whether it’s your first diamond painting or your hundredth, wrinkles can be annoying. Here then are a few different techniques to try if you would like to flatten your diamond painting.
Lay Canvas Beneath Heavy Objects
Many diamond art painters like to lay their brand-new canvases down underneath heavy objects to help flatten the image and work out any wrinkles that may be hanging around. Even if you don’t notice any wrinkles when you first remove your canvas from its box, it may be difficult to work on right away as each diamond art kit contains a rolled-up canvas. This can cause the canvas to — you guessed it — roll up as you try to place your diamond drills accurately. It’s much easier to work on a smooth, flattened surface. As soon as you receive your kit, remove it from the box and place it under several heavy books or even a stack of other canvases.
If your canvas rolls over on itself and doesn’t want to stay flat, reverse rolling could be a good solution. To do this, lay your diamond painting canvas on a flat, clean surface. Starting at one end of the canvas, carefully roll the canvas in the direction opposite to which it wants to curl. Apply light pressure, but don’t press too hard. Repeat until the canvas lies flat. Let the canvas rest for a while before proceeding to give the fabric time to relax and settle.

The most common method for un-wrinkling your diamond painting canvas is by using an iron, but be aware that using this method can also impact the canvas’s glue. Never try to iron your canvas after you’ve already added diamonds to it as you’ll certainly melt the drills and further impact the canvas’s level of adhesion.
If you receive a new kit and you notice a bunch of wrinkles in the canvas that you’d like to remove before you get started, set your iron to low heat — too high of heat will melt and damage the glue — place the canvas face down on a flat surface and cover the top with a towel. We recommend ironing a small corner of the canvas first as a test. Move the iron lightly and quickly over the surface. If you take too long or apply too much pressure, you run the risk of ruining your canvas. Although you may find some suggestions online that encourage the use of water or steam, we tell customers to stay away from spraying water before ironing as it may also impact the glue.
 For those who don’t want to risk using the iron, or simply don’t have an iron available, you can try the wrinkle release spray method. You can purchase any brand of wrinkle release or wrinkle remover spray from the store or online. If you don’t have any wrinkle remover, whip up a batch at home! All you need is:
Combine the ingredients in your bottle and shake well. Once everything is combined, you’re ready to give your DIY wrinkle releaser a try! In addition to saving you from an unnecessary trip to the store, making your own wrinkle release spray is an inexpensive alternative to store-bought products.
Before using any type of wrinkle remover (homemade or store-bought) on your canvas, it’s recommended that you do a spot check on the canvas. Spray a small corner area of the canvas with the wrinkle remover and then check to make sure that the spray doesn’t cause the ink to bleed. If using one of our diamond art kits, the ink should not bleed, but it’s always a good idea to check before spraying the entire fabric canvas.
Once you’ve spotted, tested and confirmed that your canvas still remains the same, you should turn the canvas over again so that the design is face down on a clean, flat surface. Then, generously spray the canvas with your wrinkle release spray, making sure that you’re holding the bottle at least six to 10 inches from the fabric. Try to avoid completely drenching the canvas and soak up any excess liquid with a clean cloth. Allow your painting to dry out and then check to see if the wrinkles have disappeared.
Sometimes, wrinkles in your canvas are caused by bubbles under the protective film that covers the actual canvas. If this is the case, you’ll notice literal bubbles under the top layer and wrinkles in the same spots underneath. Typically, you won’t have issues with bubbles when using diamond art kits from DAC because of the poured glue method. But if you do come across an air bubble, you can use a small utility or penknife to very delicately and carefully cut sections of the film (NOT the canvas beneath). You do not want to cut the film straight across as this would cause it to become completely detached from the canvas. Instead, leave some room at the end to keep it connected, but cut part of it straight across and use your hand to flatten this area down.

A less common method, using a heating pad, is also a good way to remove wrinkles without needing an iron or wrinkle spray. Lay a towel down on a flat surface, place the heating pad on top, add another towel on top of the heating pad, and then place your canvas on top of that towel. Your design should be facing up (not towards the heating pad). Finally, add something with a flat surface, like a cookie sheet, on top of the canvas and add something with a bit of weight. Turn the heating pad on to low or medium heat and leave the canvas for 10 to 15 minutes before turning the pad off and allowing the canvas to cool.
One of the best diamond painting tips is to stock up on extra supplies before starting a project. Whether you’re an avid diamond art painter or just looking to pick up a new hobby that is similar to cross stitch, you’ll need to invest in some additional tools. Although each diamond art kit comes with everything that you need to complete that specific project, it’s a good idea to have extra materials on hand – just in case. Here are some of the most useful diamond painting accessories that you can invest in or add to your wishlist.

A drill tray is included with our Diamond Art Club® kits, but its helpful to have a few extras on hand in case you misplace one or want to use a tray of a slightly different size. Drill trays of any size work with both round diamonds and square drills, and having multiple trays makes it easy to work with several colors at once. The drill tray is an important accessory because it allows you to pour out a good quantity of beads while keeping them right side up, making it much easier to pick up and place your drills. Instead of having to turn each diamond bead over as you work on your project — talk about tedious — you can simply pour them onto the tray, give them a gentle shake to position them upright, and use your applicator pen or tweezers to pick up drills individually.
Diamond painting kits come with a single drill pen that is easy for beginners to master. As you become more skilled at diamond painting and begin taking on larger, more complicated projects, you may find yourself looking for a quicker way to place drills. Larger designs tend to have broader areas filled with the same colored beads. In these instances, you can use a multi-placer tool to pick up several drills at the same time (in a straight-line formation) and place them onto your canvas. Using this tool may sound easy, but it definitely takes more precision and practice.
Wax is one of the most vital accessories for diamond painting because it is the material that allows you to pick up drills and place them onto your canvas. Again, wax and beads are included in your kit, but you will eventually run out of wax depending on how often you complete projects. We always recommend having some extra wax on hand so you don’t have to cut your painting time short.
As for extra beads, we also save leftovers from projects in a small storage container in case we need them for the future. You never know when you might run low on a color or accidentally misplace a bag of drills. It’s always better to be prepared.

If you’re regularly working on and completing diamond paintings, it’s best to create an organization system for yourself, especially when you’re investing in additional accessories. Purchase a few plastic bead organizers to keep track of extra beads and wax. You can also buy or make a diamond painting portfolio that will keep your unfinished projects safe even when you’re not working on them. There are storage containers that can keep your different pens and tools in one place as well, so you’re not searching the house for your materials every time you want to work on your project.
Hurray, you did it! Your diamond painting project is finally complete — and totally wrinkle-free. So, what do you do with it now? Well, many beginner diamond painters like to hang their first few projects in their room or elsewhere in their home as a testament to their new achievement. However, once you’ve completed many projects, you may find yourself running out of space, so why not give your next one away as a gift? Select a design that your friend or family member loves and work on a beautiful new decoration for him or her.

Many people select their diamond painting project with a specific display space in mind — maybe the living room or bedroom. Hanging your work in your home is one of the best ways to show off your talents and fill up any blank wall space you may have. If you don’t know where to hang your paintings, you can consider creating a diamond painting portfolio to hold all of your finished projects in one place. Learn how to frame a diamond painting so you can display your artwork to its best advantage in your home. There are lots of options!
Whether you’ve been doing diamond painting for years or this is your first time purchasing a diamond art kit, we hope you find the experience rewarding and fun. Before you get started on your next project, check your canvas for wrinkles or bubbles and try using these tips to keep your canvas smooth and flat, creating a beautiful masterpiece in the end. You can shop our collection of diamond art kits to find the perfect theme for your next project and display it in your home or give it as a gift.


© Wildbrain / Strawberry Shortcake


© Disney / The Nightmare Before Christmas™


© Viacom / Avatar: The Last Airbender


Diamond Art Club Save 20% by using our app!