
ALREADY PURCHASED
Fancy Flower Garden
Rated 5.0 out of 5
To view pricing in your currency, select your shipping country below.
Date
March 02, 2024Time reading
3 minutes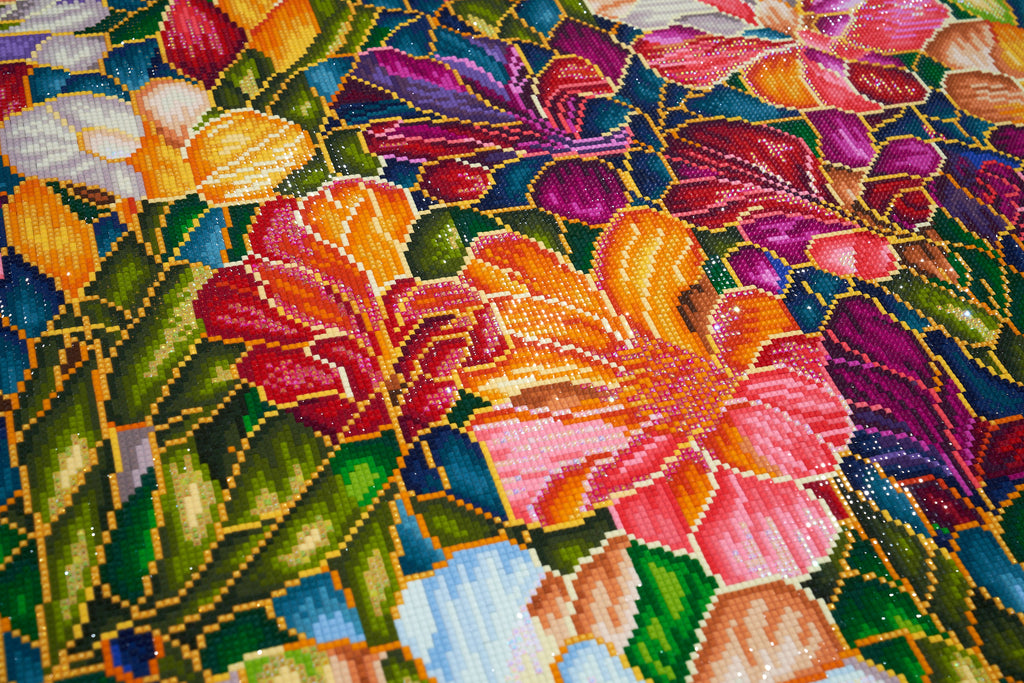
The popularity of diamond painting kits has exploded recently, due in part to their unique blend of relaxation and creativity. But even the most meticulous crafter can make the occasional misstep, accidentally placing a diamond in the wrong spot.
If this happens to you, don’t fret!
This is by no means the end of your masterpiece. With patience and the right tools, you can easily rectify the error and continue forward on your artistic journey. Keep reading to learn how to remove misplaced drills from your diamond painting.
Diamond painting thrives on meticulous placement, and positioning the correct drills in the proper spot is definitely easier than trying to remove incorrect ones that have been misplaced. Each tiny resin diamond plays a crucial role in bringing your chosen image to life. And there are supportive accessories available to help you achieve this.
Start out with quality diamond painting tools, which ensure greater control and accuracy. Using a diamond painting light pad provides illumination to help you avoid mistakes — especially when working with similar colors. Muscle tension or fatigue can give rise to misplacement as well, so look for an ergonomic drill pen to help keep your hands relaxed. Rushing through the process often leads to errors, so take your time and enjoy the meditative aspects of creating your artwork. If you really want to finish certain areas in less time, multi-placer tips can help you place more drills at once, getting the job done efficiently without rushing. Consider investing in tools with more comfortable grips to further enhance your precision and overall enjoyment.
Stock Up on Diamond Painting Accessories
Identifying misplaced diamonds is the key to a quick fix. In simpler designs, color inconsistencies are readily noticeable. Complex sections, particularly those with intricate details or similar color palettes, may require closer inspection. Double-checking your work before permanently placing a diamond is crucial. Don’t hesitate to refer to your reference sheet or even use the camera on your phone to enlarge the symbols for better clarity. Use a magnifying glass if needed to ensure you’re working with the correct colors to avoid frustration later.
Most importantly, when you spot a misplaced diamond, fix it right away. If you try to wait and come back to it later, you might not be able to spot the mistake. It’s far better to fix it immediately than face the frustration of searching for it at another time.
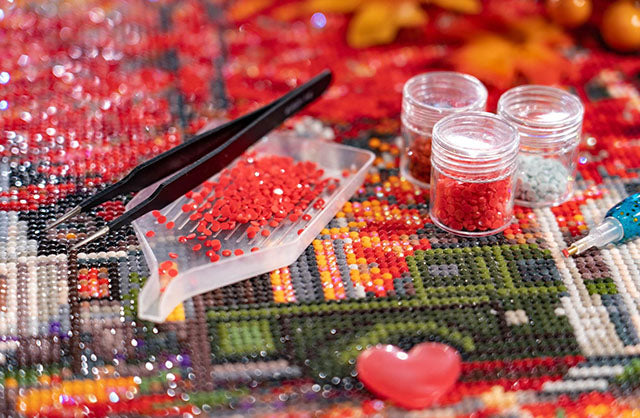
When it comes to removing misplaced diamonds, tweezers are your best bet. Choose a set with pointed or angled tips for enhanced precision that allows you to easily maneuver between closely placed diamonds. Gently grasp the diamond on opposite sides near its base, avoiding the delicate facets. With a slow, controlled lift, detach the diamond from the canvas. Remember that patience and finesse are key. Most quality drills can be reused after being carefully removed, but forcing the diamond can damage the canvas or the diamond itself.
Once the incorrect drill has been removed, take a moment to examine the canvas, making sure it is clean and still has adhesive. If you find that some dirt, dust, or hair has accumulated, carefully use a baby wipe to remove the debris before proceeding. If you find the canvas has lost adhesion in that area, you’ll want to use our diamond painting adhesive to renew it.
In rare cases, particularly with stubborn diamonds, alternative methods like using a toothpick or floss might be considered. However, these carry additional risks. Toothpicks can scratch the canvas, while floss might snag on the adhesive, potentially removing it. If you attempt these methods, proceed with extreme caution and prioritize using tweezers whenever possible. In most cases, the possible damage caused by other methods outweighs the benefit of removing a single diamond. It’s better to invest a few extra minutes using tweezers safely than risk ruining your entire project.
Removing misplaced drills can be tricky, and you may be tempted to try to scrape them off rather than using tweezers or another gentle method. Resist the temptation! Attempting to scrape diamonds off usually results in removing the stickiness from the canvas, too.
Don’t try to remove a misplaced diamond when you’re in a rush, either. This is a process that requires patience and finesse. If you’re in a hurry, you’re more likely to damage the canvas or glue. It may take a few tries, but with patience and a gentle touch, you can remove a drill with minimal impact to the canvas and adhesive.
Even experienced diamond painters face diamond painting problems from time to time. The important thing is to learn from them and enjoy the process! Don’t be discouraged by occasional missteps. View them as opportunities to improve your technique and appreciate the satisfaction of overcoming challenges in your creative journey.
Discover 7 Common Diamond Painting Problems and How to Solve Them
Correcting misplaced diamonds might seem daunting, but it’s often a minor hurdle in your creative journey. With the right tools and techniques, you can effectively fix the error and continue building your masterpiece. The satisfaction of completing a diamond painting, knowing you overcame minor challenges along the way, is truly rewarding. So, keep calm, grab your tweezers, and continue creating diamond magic!


Diamond Art Club Save 20% by using our app!